

Getting Started with Google Tag Manager
Do you want to set up Google Tag Manager for the first time and manage tags on your website? No problem—just follow the steps in this guide to get started.
What is a Google Tag? What is an Account? What is a Container?
- A tag is a small piece of code placed on your website that allows you to measure, personalize, and optimize user interactions.
- An account in Google Tag Manager is your personal access to the tool, similar to other Google products.
- A container is a collection of tags, triggers, and variables that you manage for your website or mobile app.
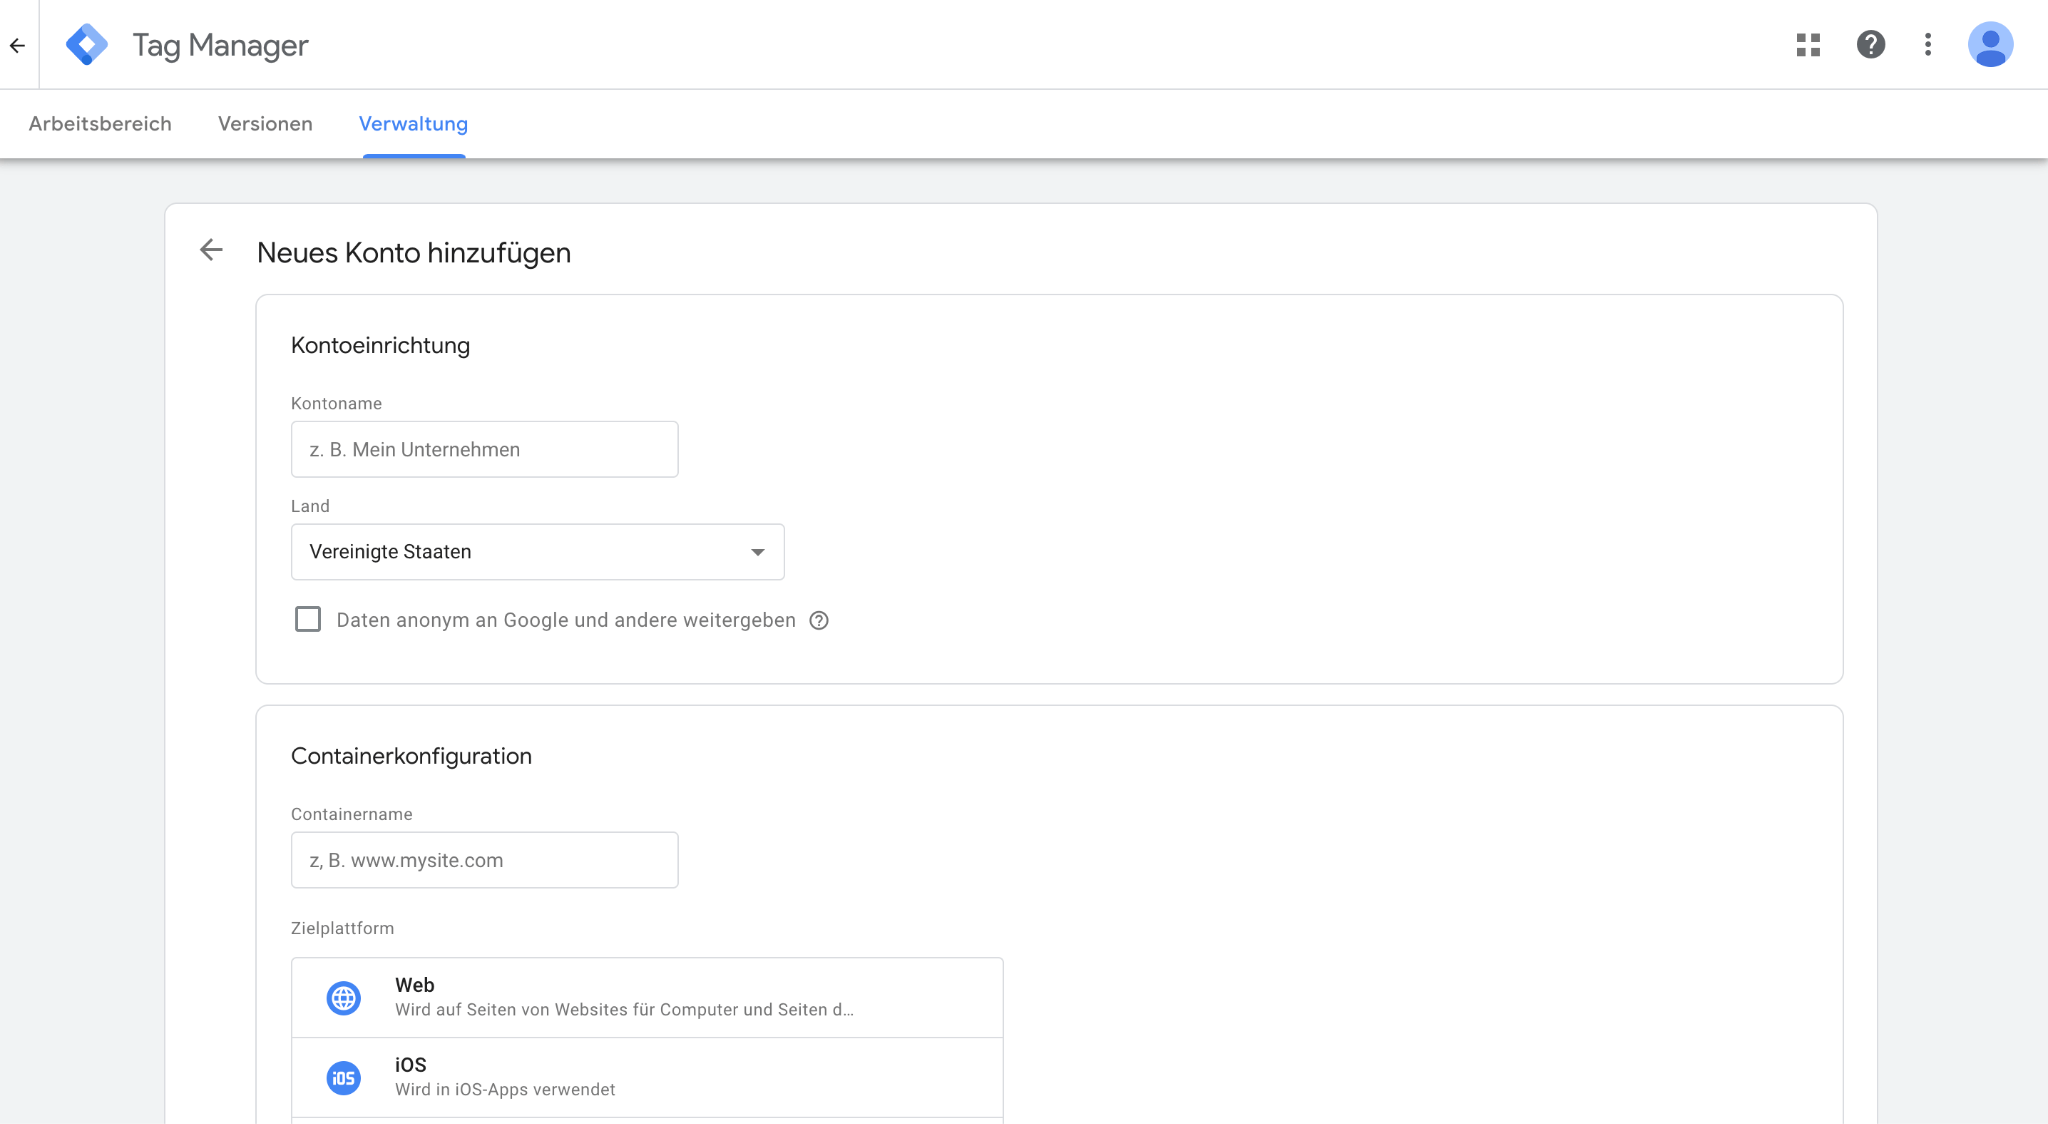
1. Create a New Account and Container
The first step is to create a new account and container:
- Go to Google Tag Manager and click on the “Accounts” tab > “Create Account.”
- Enter an account name and select the country for the account.
- Provide a descriptive container name and choose the container type.
- Click “Create” and accept the terms of service.
Now you have a new container that can be installed on your website or mobile app.
2. Install the Container
- In Google Tag Manager, go to “Workspace.”
- Copy the container ID (in the format GTM-XXXXXX) and click it to open the installation dialog.
- Add the
<script>code snippet inside the<head>section of your website’s HTML, as close to the opening<head>tag as possible (but below anydataLayerdeclarations, if present). - Add the
<noscript>code snippet immediately after the opening<body>tag. - Remove any hardcoded tags from your code to prevent duplicate firing.
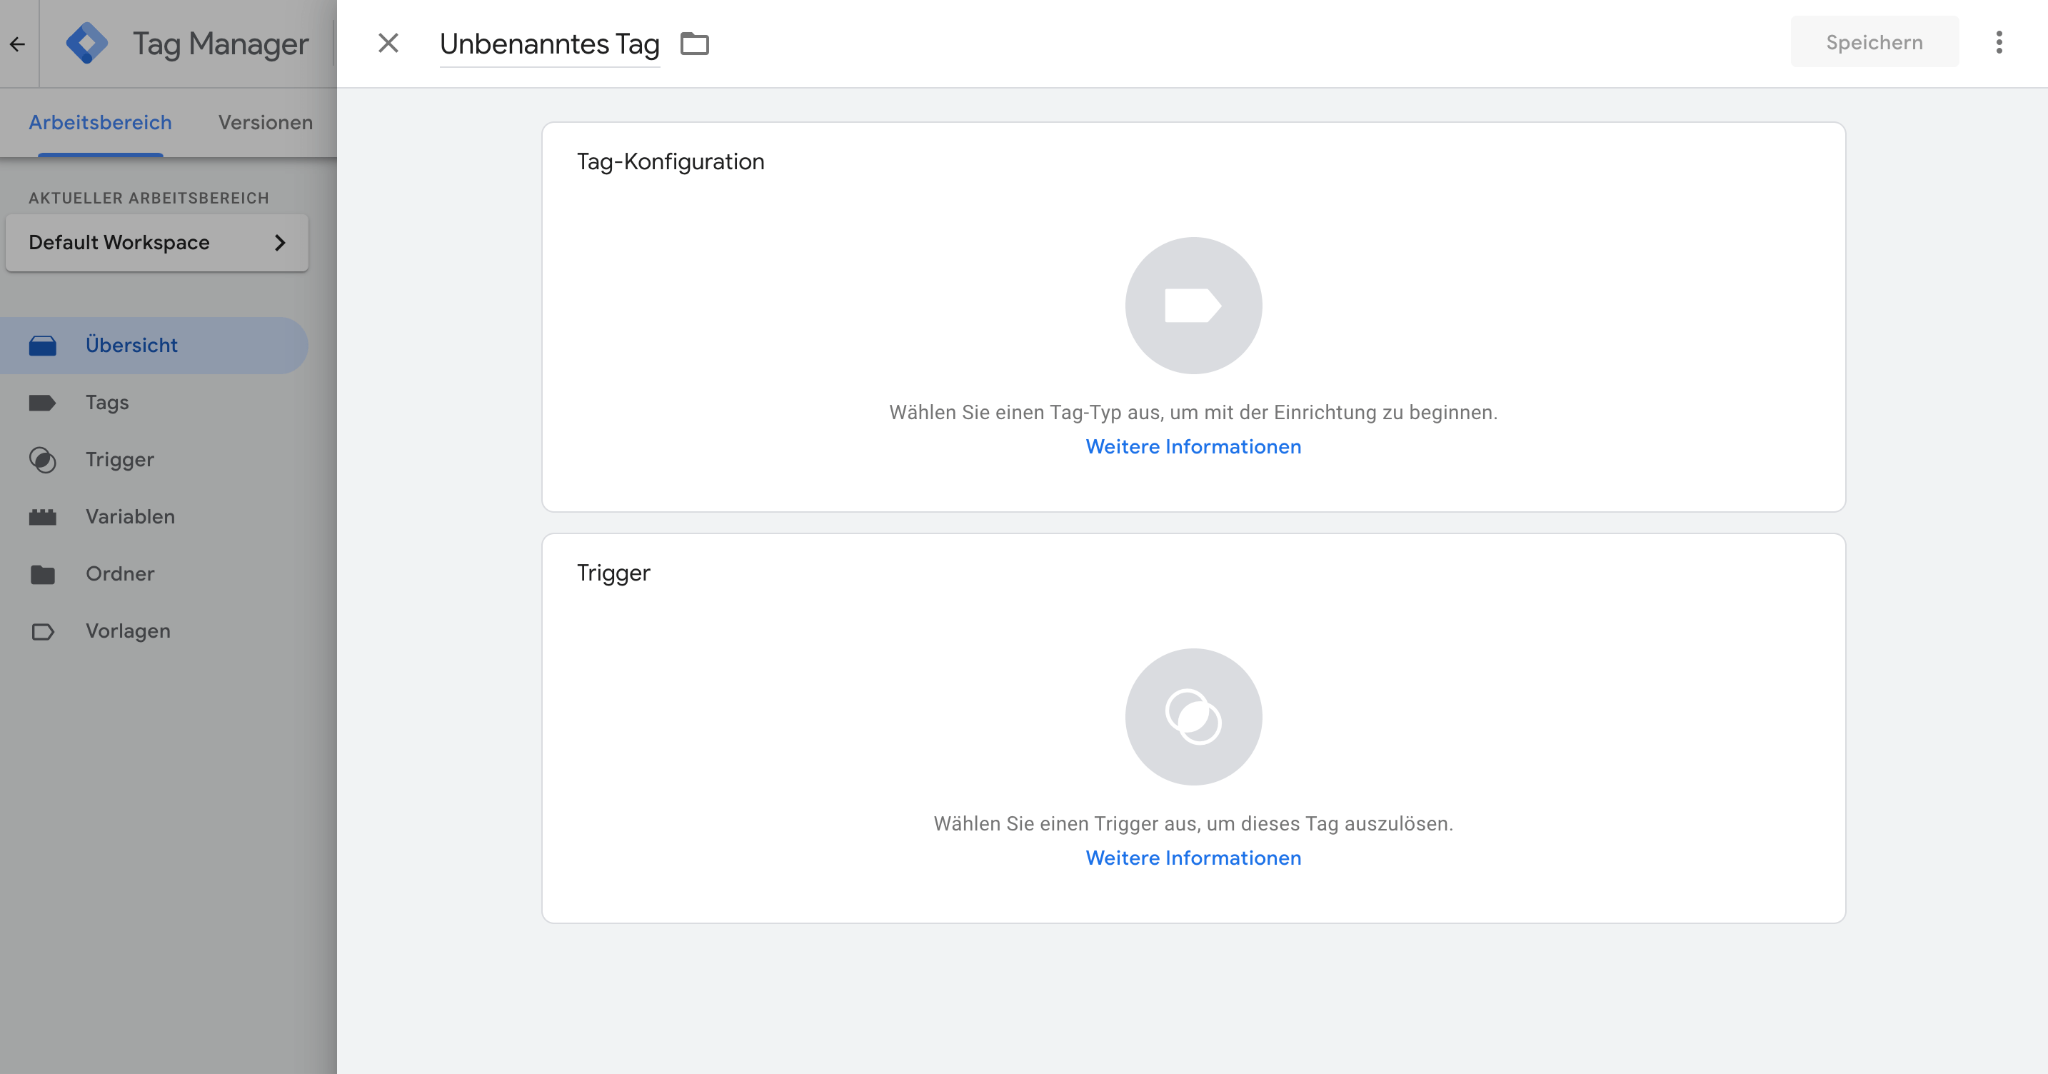
3. Add Tags
Once the container is installed, you can add new tags:
- Go to “Tags” in your workspace, click “New,” name the tag, and configure it.
- Choose a tag configuration and a trigger.
- Optionally, add a note to document your setup.
4. Test Tags
After adding tags, make sure they work correctly:
- Use the Preview mode to check if tags fire properly.
- If errors occur, troubleshoot using Tag Assistant.
5. Publish Tags
When your tags work as intended:
- Click “Submit,” review the configuration, and provide a version name and description.
- Click “Publish”—your tags are now live!
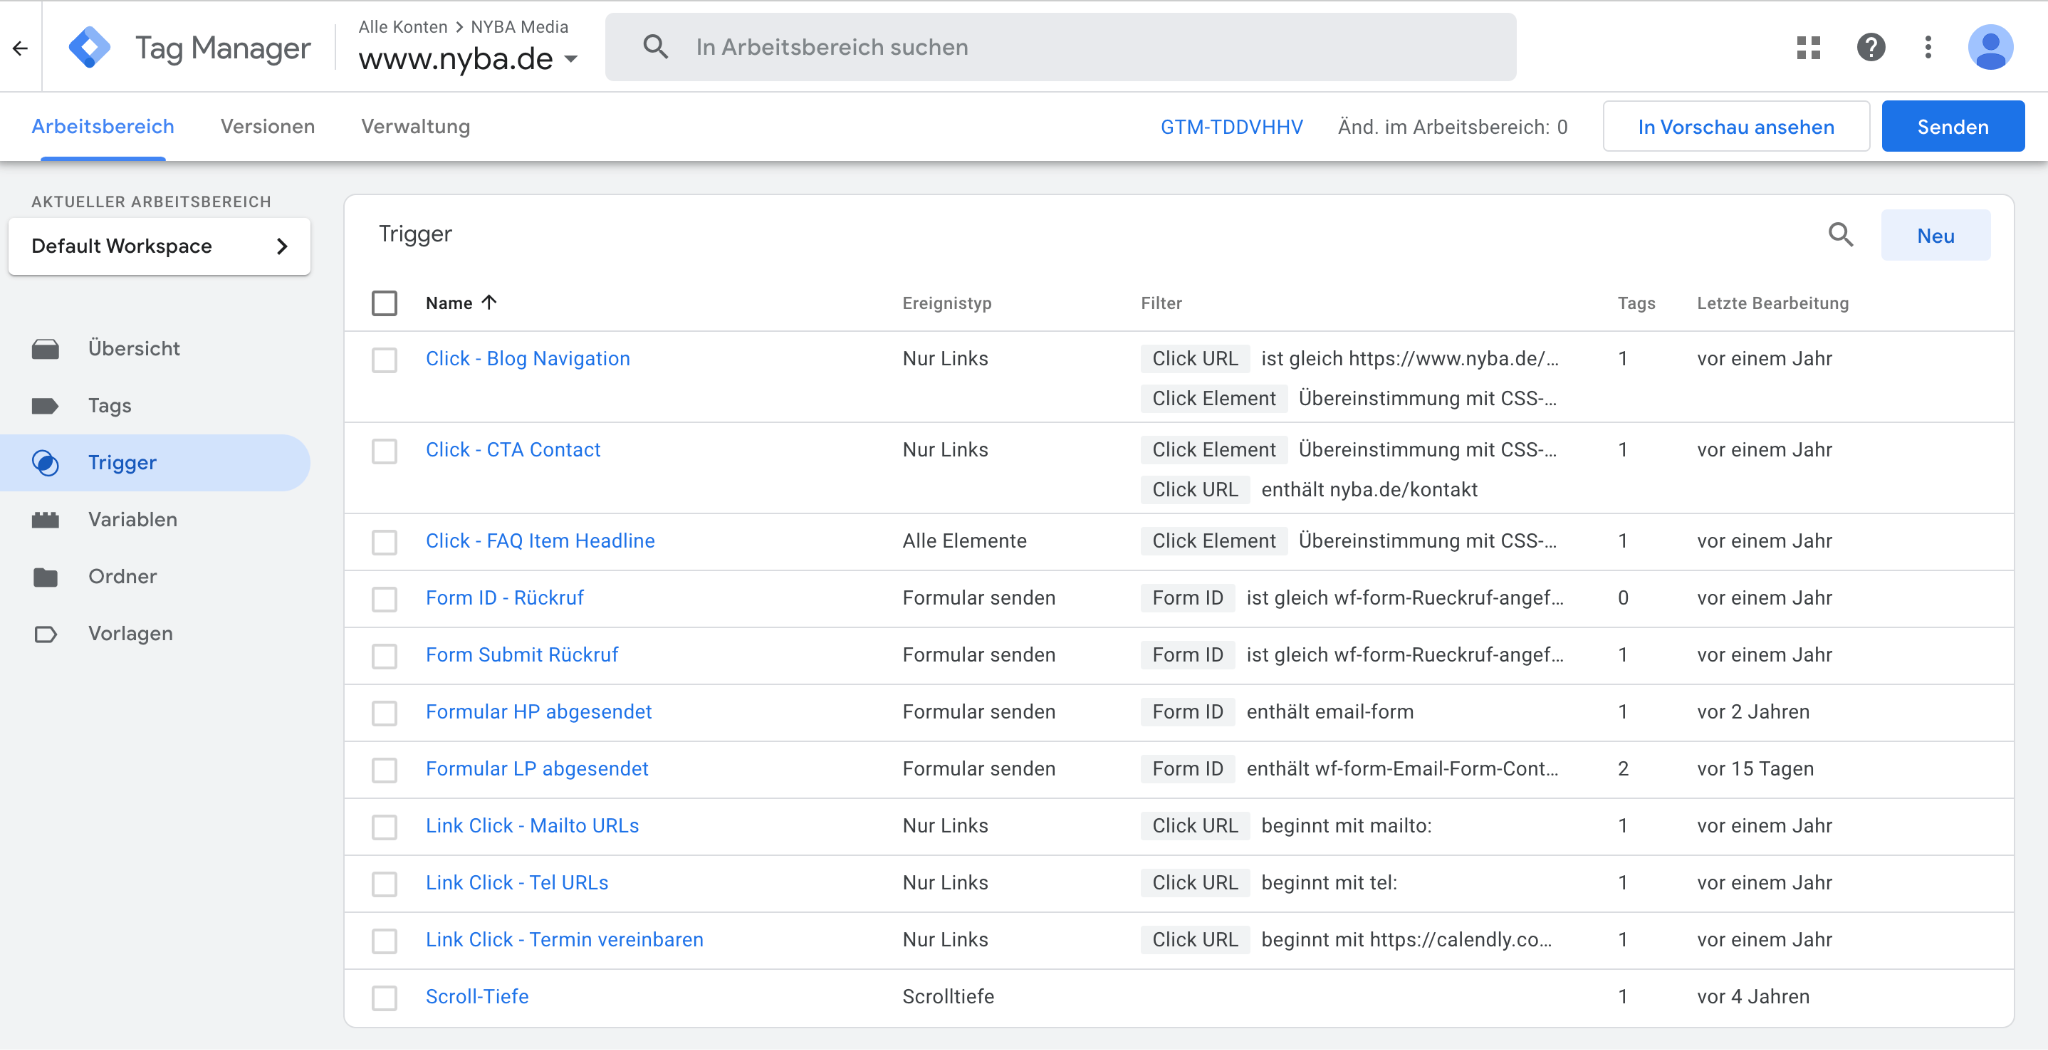
Triggers
Triggers in Google Tag Manager define the conditions under which your tags fire. They can respond to events such as clicks, pageviews, or form submissions.
To create a trigger:
- In the container dashboard, click “New Trigger.”
- Choose the trigger type that matches your event and configure the conditions.
- Click “Save.”
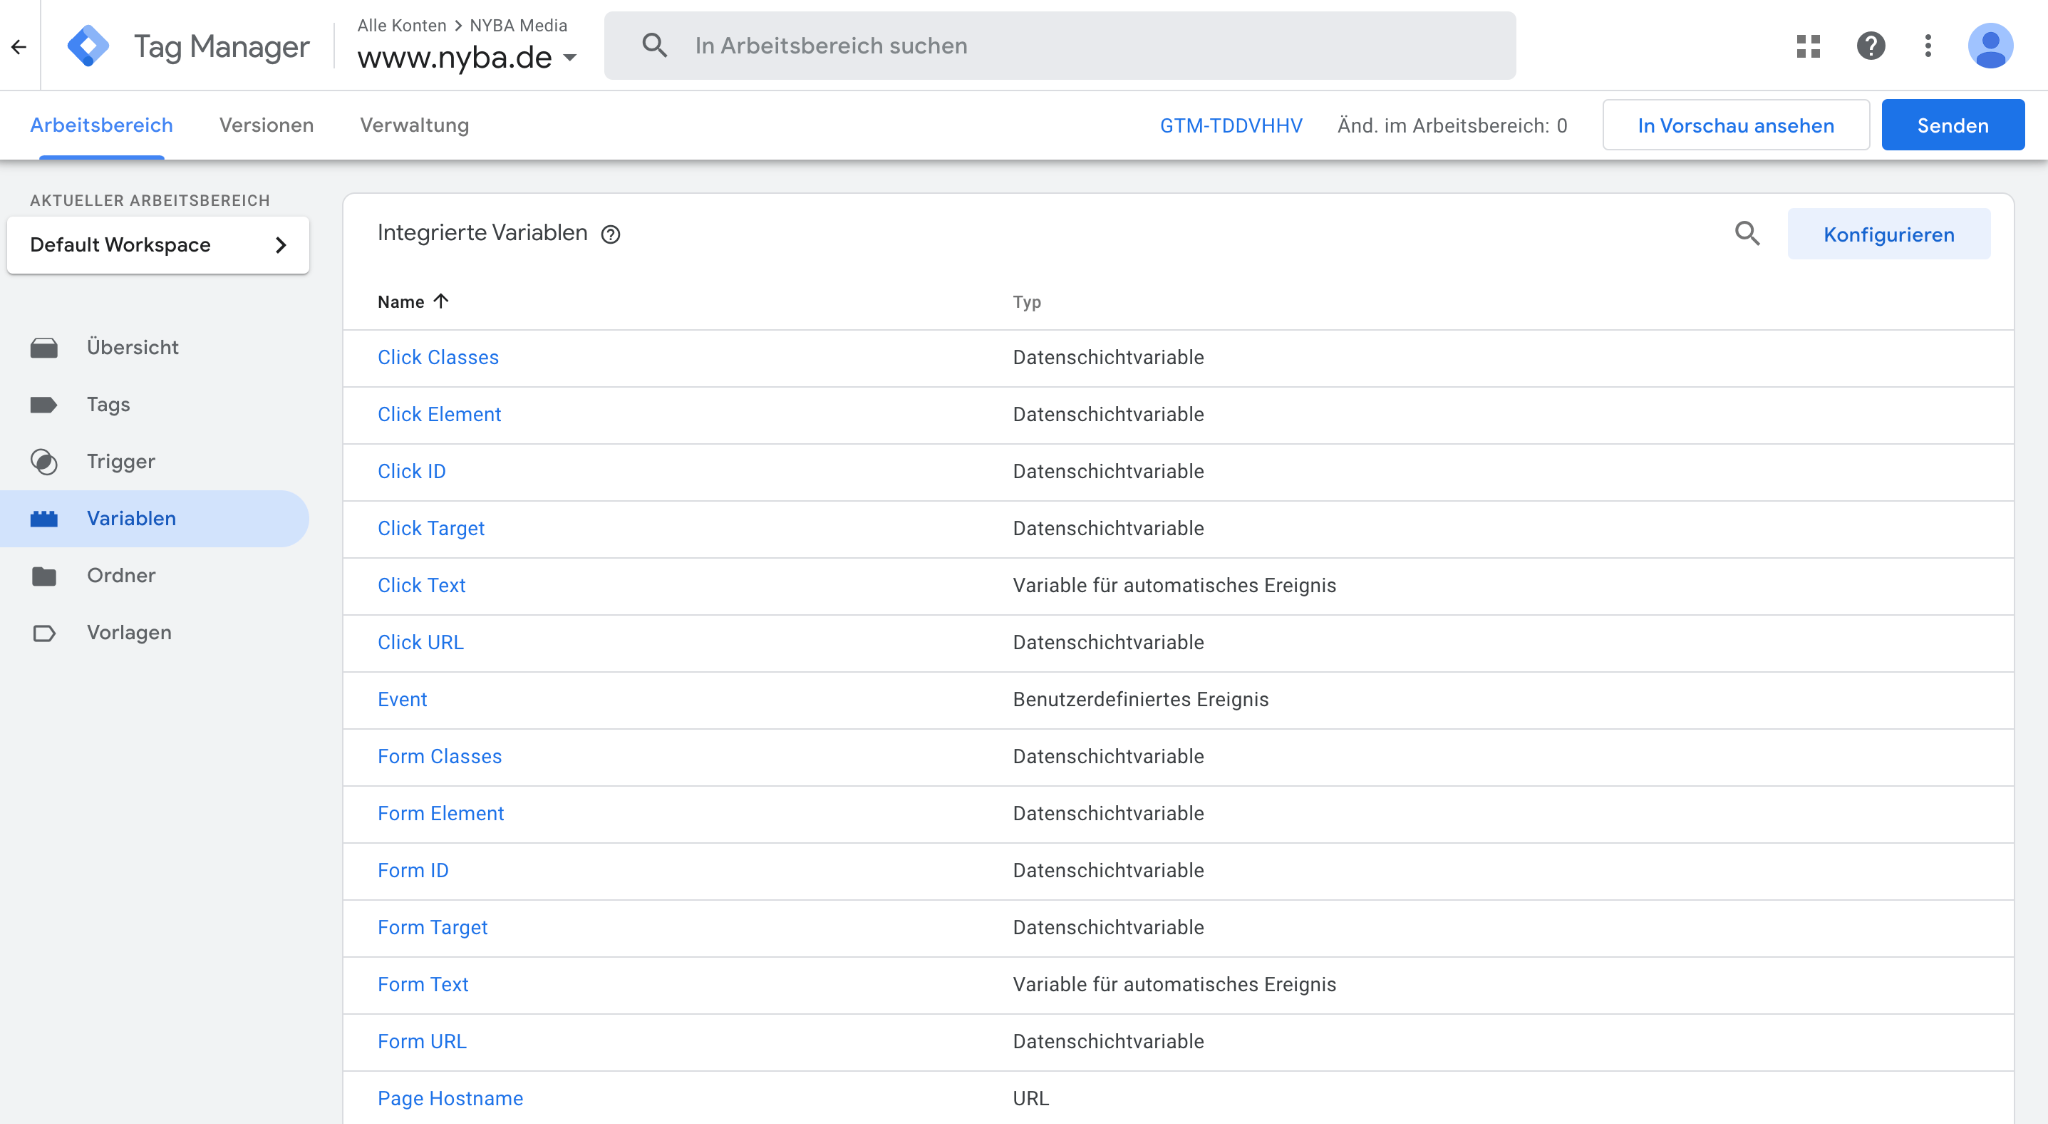
Variables
Variables in Google Tag Manager are values used in tags and triggers. They can store and retrieve information such as a form field value or the current page URL.
To create a variable:
- In the container dashboard, click “New Variable.”
- Select the variable type that matches the data you want to store and configure it.
- Click “Save.”
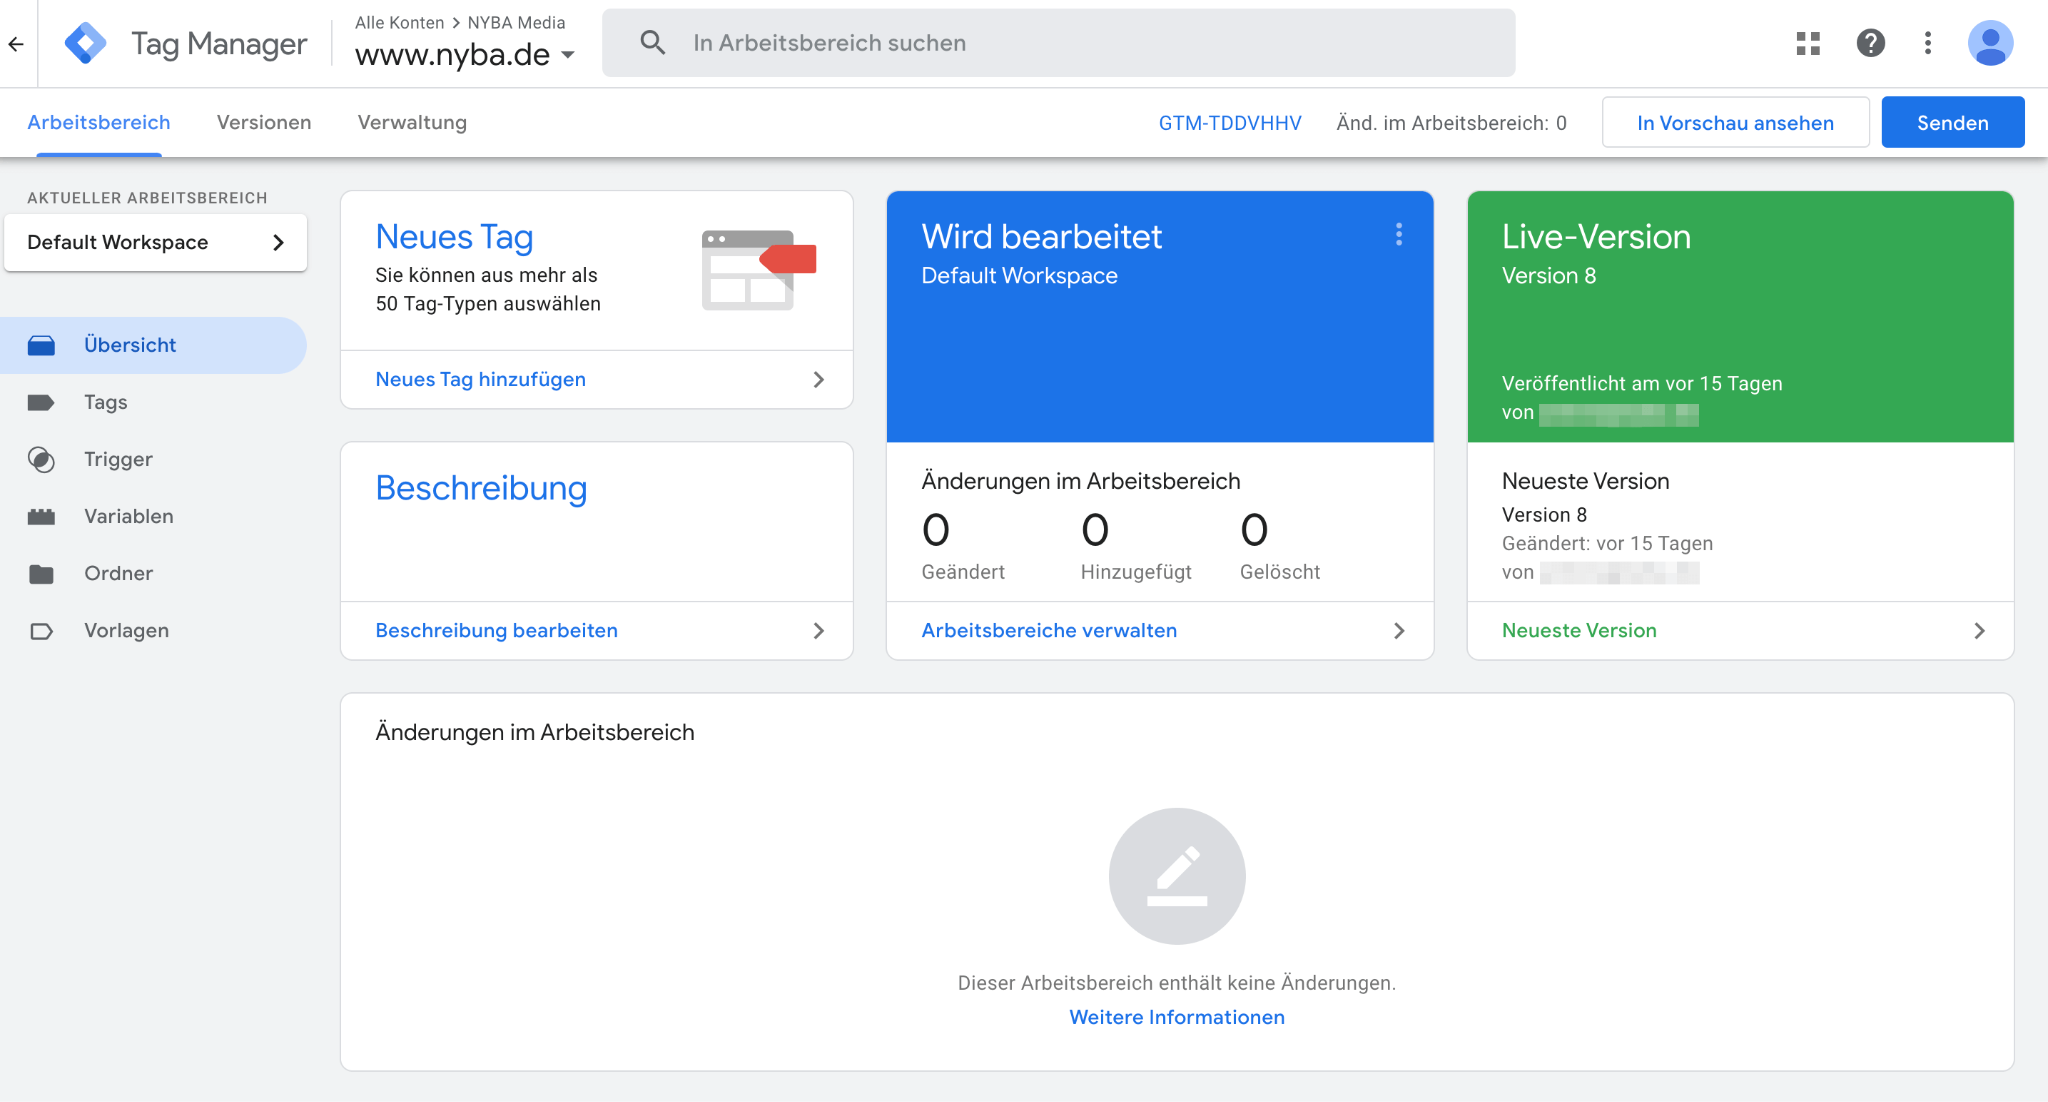
Overview
The overview page in Google Tag Manager provides a central hub to check the status of your containers, tags, triggers, and variables. Here, you can:
- See which tags are active
- Review which triggers and variables are configured
- Track changes to your container
- Restore previous versions if needed
Linking Google Tag Manager with Google Analytics
- Create a new tag in your Google Tag Manager account.
- Select the tag type: “Google Analytics: Universal Analytics” or “Google Analytics: GA4 Configuration”(depending on the version of Google Analytics you’re using).
- Enter your Google Analytics Tracking ID (found in your Analytics account).
- Select a trigger that determines when the tag will fire (e.g., “All Pages” for a pageview tag).
- Click “Save” and then “Submit” to publish your changes.
Troubleshooting and Debugging
- If a tag does not fire correctly, use Preview mode in Google Tag Manager to see which tags are firing on a page and which are not.
- The Google Tag Assistant Chrome extension is another helpful troubleshooting tool. It shows which tags are firing on a page and whether they are working correctly.
- If you have issues setting up a tag, double-check that all required fields are filled in correctly and that the trigger is properly configured.
Advanced Features
- Deploy for websites: Manage measurement and marketing optimization tags (e.g., Google Ads, Google Analytics, Floodlight, third-party tags) on your site without editing code.
- Deploy for mobile apps: Manage analytics and ad tools in your apps without rebuilding app binaries or resubmitting them to app stores.
- Server-side tagging: Move tag code from your website/app to the cloud, improving performance and security while serving assets from your own domain.
- Custom templates: Create your own tag and variable templates, submit them to the Community Template Gallery, and make them available globally.
- Automate with the REST API: The Google Tag Manager API gives authorized users access to Tag Manager configuration data. Use it to manage accounts, containers, container versions, tags, rules, triggers, variables, and user permissions.
These advanced features give you greater control and flexibility when managing tags on your website or mobile apps. They allow you to implement tags more efficiently while improving the performance and security of your digital platforms. It’s recommended to explore these features once you’re comfortable with the basics of Google Tag Manager and ready to level up your tag management skills.


