How to Change Your Name on Facebook
Facebook is one of the largest social platforms in the world. With over 2.7 billion active users globally, it plays an important role in many people’s daily lives. One feature that sets Facebook apart from other social media platforms is that it allows users to change their name on the platform. In this article, we’ll explain how to change your name on Facebook and what to keep in mind.
Step 1: Go to your Facebook account
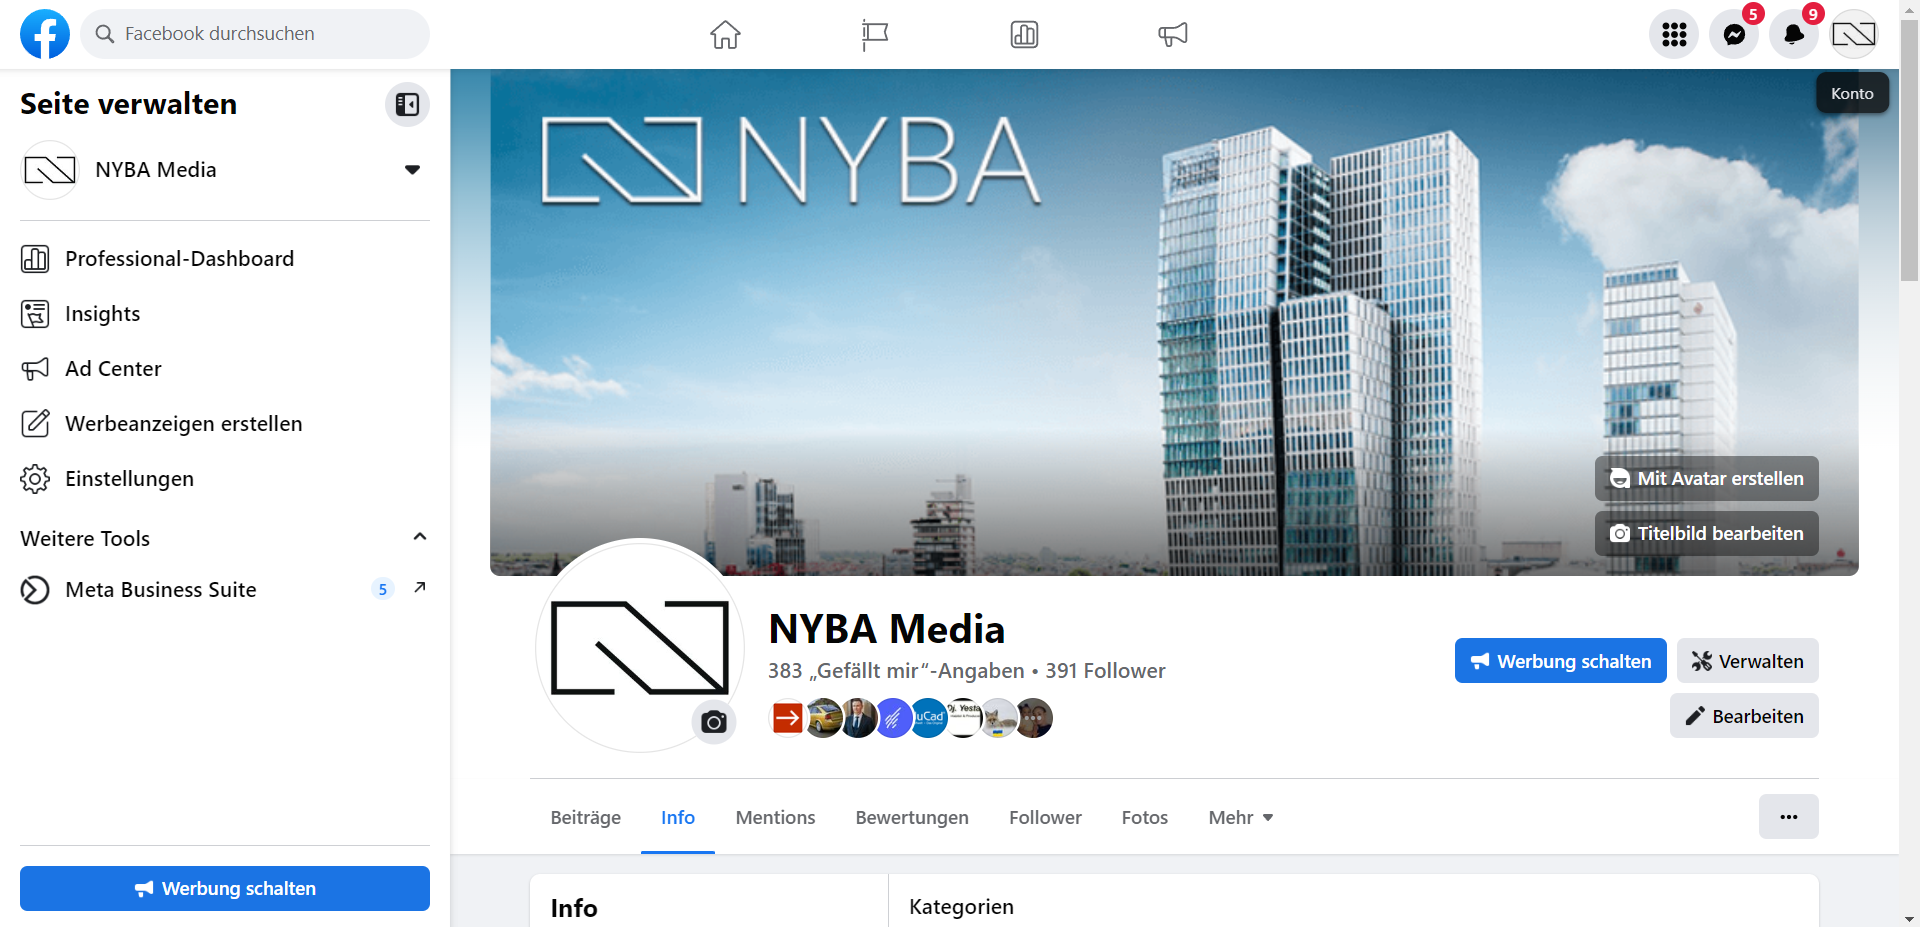
To change your name on Facebook, first go to your account. Simply click on your profile picture in the top right corner.
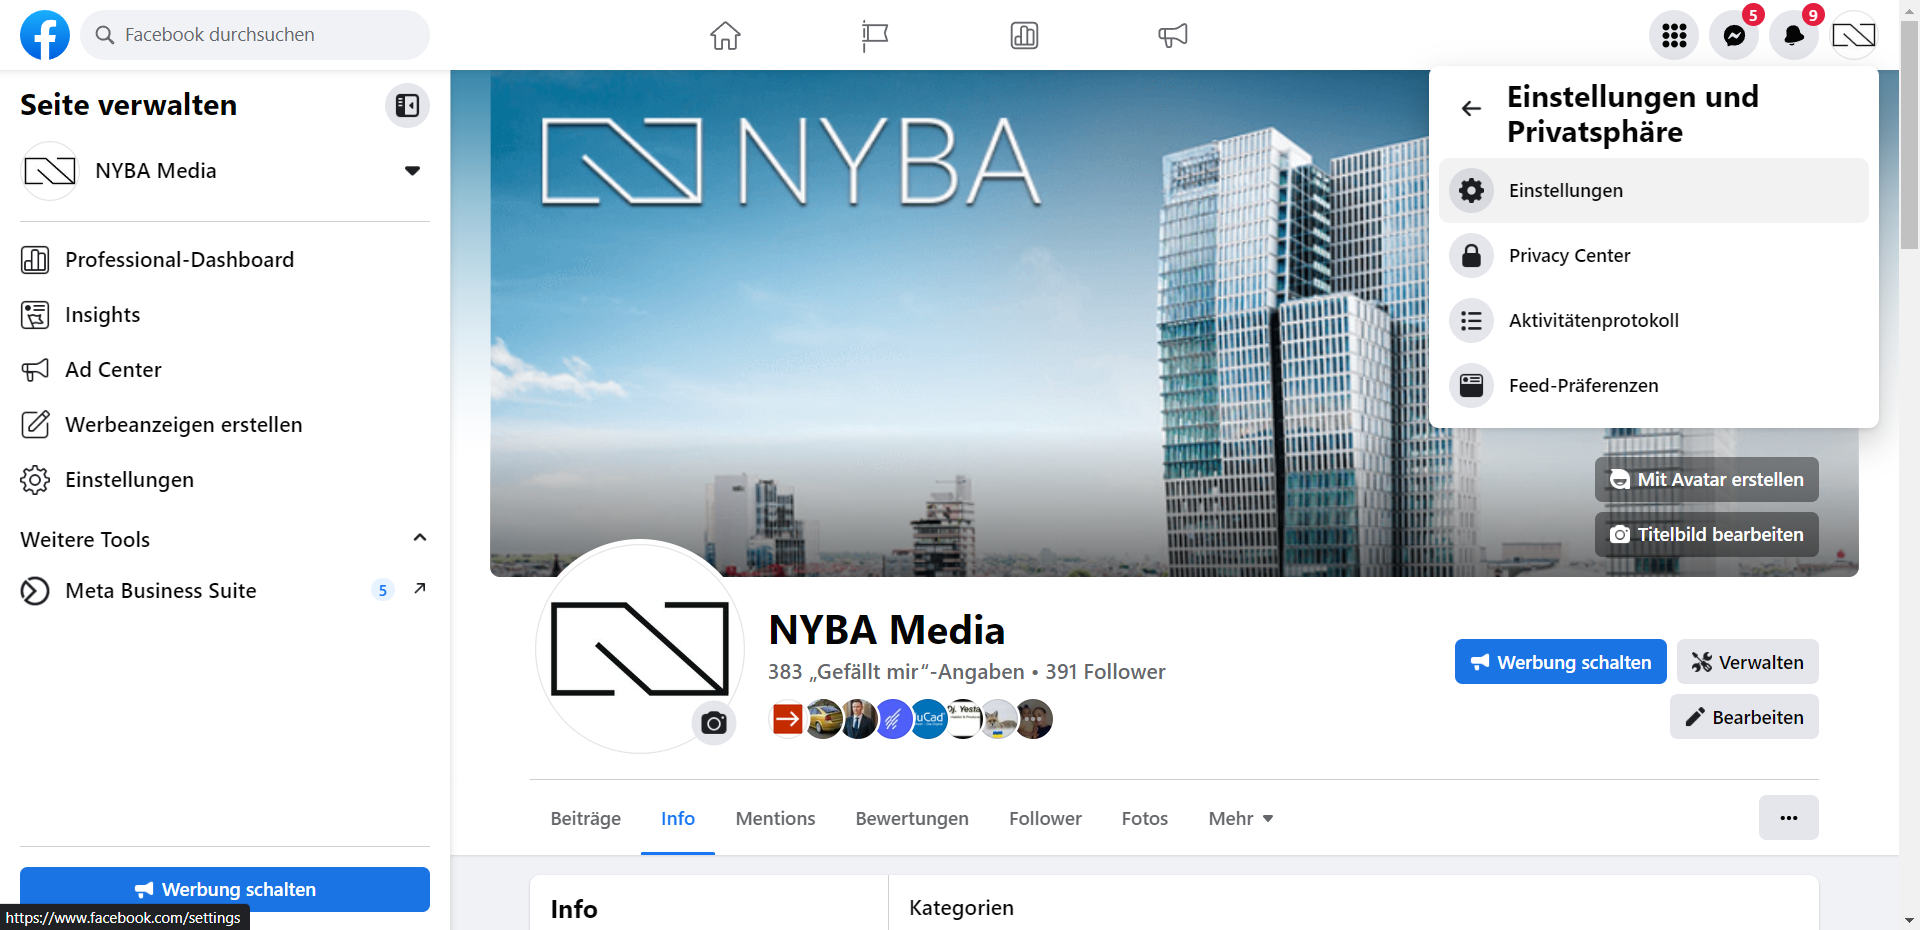
Step 2: Select “Settings & Privacy”
Step 3: Select “Settings”
Step 4: Edit your name
Under General Account Settings, you’ll see your name. Click Edit.
Step 5: Choose a new name
Enter your new name in the field and click Review Change to see if your new name is available. If it is, click Save Changes to apply your new name.
Important Things to Keep in Mind
- Name change frequency: Facebook only allows you to change your name once every 7 days. Make sure you are confident in your new name before changing it.
- Name policy: Facebook has strict rules for user names. Your name must reflect your real name. Nicknames, stage names, or fantasy names are not allowed. If Facebook suspects your name is not real, your profile may be blocked.
- Impact on previous posts: Changing your name will also disconnect all links to your old name. This means that all posts you made previously will no longer be associated with your new name. Keep this in mind when changing your Facebook name.


